How to Install a Precision Barrel Spacer: A Comprehensive Guide
Installing a precision barrel spacer is an essential step for firearm enthusiasts looking to enhance the accuracy, consistency, and overall performance of their rifles. Whether you are a competitive shooter or a dedicated hunter, understanding how to properly install a barrel spacer can make a significant difference in your shooting experience.
This article will guide you through the process of installing a precision barrel spacer with clear, step-by-step instructions, supplemented by technical insights, examples, and best practices. We will also discuss why barrel spacers matter and how they contribute to improved rifle performance.
What is a Precision Barrel Spacer and Why Is It Important?
A precision barrel spacer is a small but critical component installed between the barrel and the receiver of certain bolt-action rifles. It functions as an alignment tool that ensures the barrel is perfectly centered and supported within the receiver assembly. This alignment improves the bedding surface contact and reduces any potential movement or stress on the barrel during firing.
Why does this matter? Inaccuracies in barrel alignment or inconsistent pressure points can cause minute shifts in the barrel’s position each time you fire, negatively affecting your shot placement. According to a study by The Precision Rifle Blog, even minor misalignments can result in group size differences of up to 30% at 100 yards.
By installing a precision barrel spacer:
- You increase the rigidity and stability of the barrel/receiver interface.
- You reduce the chances of “barrel cant” or uneven pressure points.
- You improve shot-to-shot consistency and overall accuracy.
- You potentially extend the life of your rifle by reducing stress on critical components.
For shooters looking to maximize their rifle’s potential, a well-installed precision barrel spacer is an indispensable upgrade.
Tools and Materials Needed for Installation
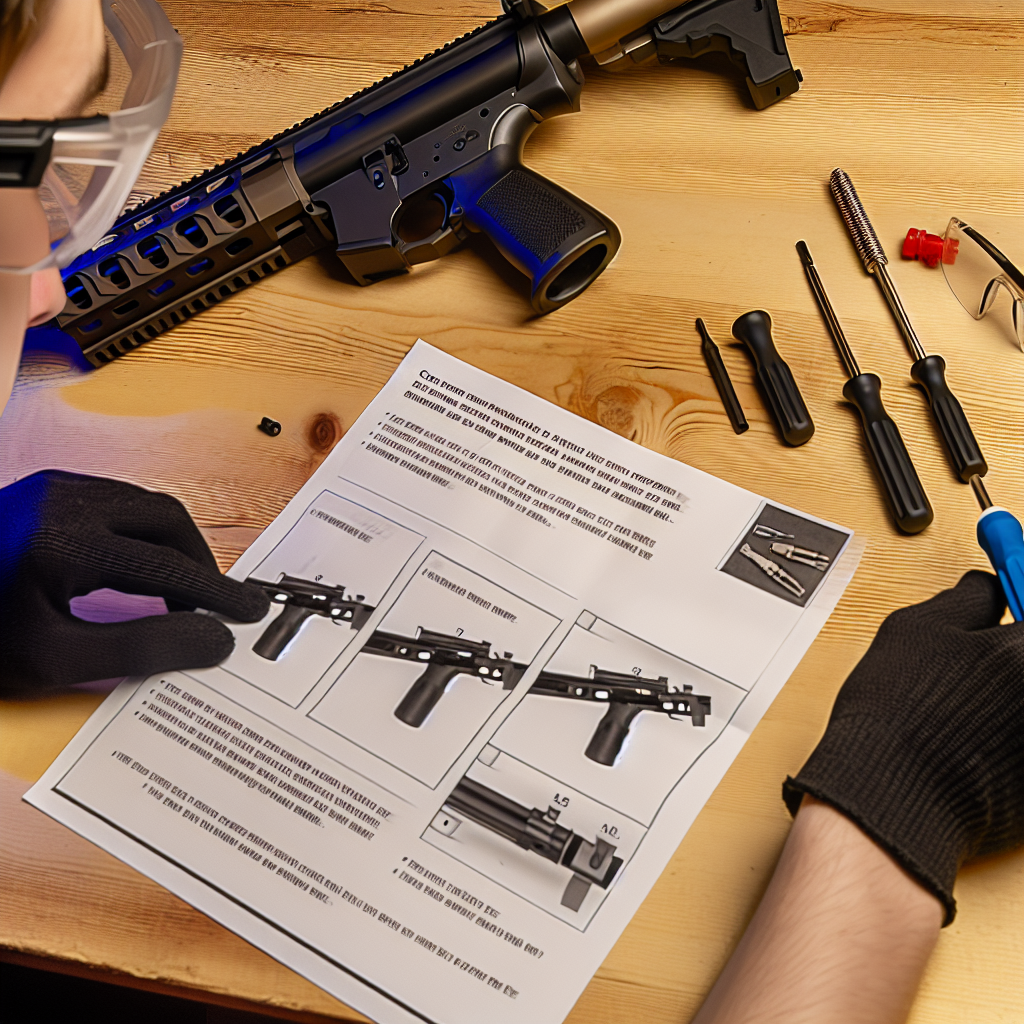
Before beginning installation, it is crucial to gather all necessary tools and materials. Having everything ready will ensure a smooth process and prevent damage to your rifle components.
- Precision Barrel Spacer: Make sure it is specifically designed for your rifle model (e.g., Remington 700, Savage Axis).
- Torque Wrench: Essential for applying correct torque values without over-tightening.
- Vise with Soft Jaws or Protective Padding: To secure the receiver without scratching or damaging it.
- Bedding Compound (optional): Used if you are performing additional bedding work alongside spacer installation.
- Cleaning Supplies: Solvent, patches, and cloths for cleaning threads and mating surfaces.
- Screwdriver Set: For removing action screws if necessary.
- Thread Locker (optional): A medium-strength thread locker like Loctite may be used based on manufacturer recommendations.
If you are unfamiliar with any part of this process or lack appropriate tools, consider consulting a professional gunsmith to avoid damaging your firearm or compromising safety.
Step-by-Step Guide to Installing a Precision Barrel Spacer
The installation process varies slightly depending on rifle models and spacer designs. However, these general steps apply to most bolt-action rifles that utilize spacers between the barrel and receiver:
1. Prepare Your Work Area
A clean, well-lit workspace with ample room is vital for safe handling of firearm components.
- Ensure all firearms are unloaded and safety protocols are followed.
- Lay out all parts in an organized manner for easy access.
2. Remove Action Screws and Separate Components
If your rifle already has an action screw securing the stock to the receiver/barrel assembly, carefully remove it using appropriate screwdrivers or drivers to avoid stripping screws.
- If applicable, separate the barreled action from the stock following manufacturer guidelines.
- Inspect threads on both barrel shank and receiver for debris or damage—clean thoroughly with solvent if needed.
3. Positioning the Barrel Spacer
The precision barrel spacer usually fits snugly around the barrel shank just ahead of where it mates with the receiver face.
- Select the correct spacer size designed for your specific rifle model—incorrect size can cause misalignment or damage.
- Slide the spacer onto the barrel shank until it rests flush against the receiver face or shoulder as designed by manufacturer specifications.
4. Reassemble Action Screws With Correct Torque Settings
The most critical part of installation involves properly torquing action screws to secure everything firmly without causing stress fractures or deformation.
- If using multiple screws (e.g., front and rear), tighten them incrementally in stages using cross-pattern tightening methods when applicable—for even pressure distribution.
- A torque wrench calibrated in inch-pounds (in-lbs) should be set according to manufacturer’s recommended values (often between 40-60 in-lbs depending on rifle).
- A medium-strength thread locker may be applied if recommended but avoid excessive use that could complicate future disassembly.
</