How to Replace Your Firearm’s Extractor: A Comprehensive Guide
The extractor is a critical component of any firearm’s operating system. It ensures that spent cartridges are efficiently removed from the chamber, allowing the next round to be chambered smoothly. When an extractor fails or wears out, it can lead to malfunctions such as failure to eject (FTE), which can jeopardize reliability and safety. Replacing a firearm’s extractor may seem daunting for many gun owners, but with proper guidance and tools, it is a manageable task that can significantly improve your weapon’s performance.
In this detailed article, we will walk you through the importance of the extractor, signs that indicate replacement is necessary, step-by-step instructions on how to replace it, and tips for maintenance to extend its lifespan.
Understanding the Role of the Extractor in Your Firearm
The extractor is a small but vital part usually located on the bolt or slide of a firearm. Its primary function is to grasp the rim or groove of a cartridge case after firing and pull it out of the chamber. This action ensures that the spent case does not remain lodged in the barrel, which could cause jams or misfires.
Extractors vary depending on firearm type:
- Rifles: Typically housed on the bolt face.
- Shotguns: Often integrated with the bolt assembly.
- Semi-automatic pistols: Located on the slide or barrel hood.
Without a functioning extractor, even well-maintained firearms will experience malfunctions. According to a study by the National Shooting Sports Foundation (NSSF), extractor-related failures account for nearly 15% of all common firearm malfunctions reported by users.
Signs Your Extractor Needs Replacement
Identifying extractor issues early can save time and prevent dangerous situations during operation. Here are common symptoms indicating your extractor may require replacement:
- Failure to Extract (FTE): Spent cases remain stuck in the chamber instead of being ejected.
- Frequent Jamming: Increased frequency of stovepipe jams or double feeds caused by improper case removal.
- Visible Damage: Cracks, chips, or deformation observed upon inspection.
- Lack of Tension: The extractor does not snap back into place firmly after cycling.
- Inconsistent Ejection Patterns: Cases eject erratically, either too weakly or too forcefully.
A practical example comes from competitive shooters who often push their firearms through thousands of rounds under stressful conditions. Many report that replacing worn extractors drastically reduces stoppages during matches. In one documented case from an IPSC competitor’s forum, switching from a factory extractor to a high-quality aftermarket part reduced extraction failures by over 80% during rapid fire stages.
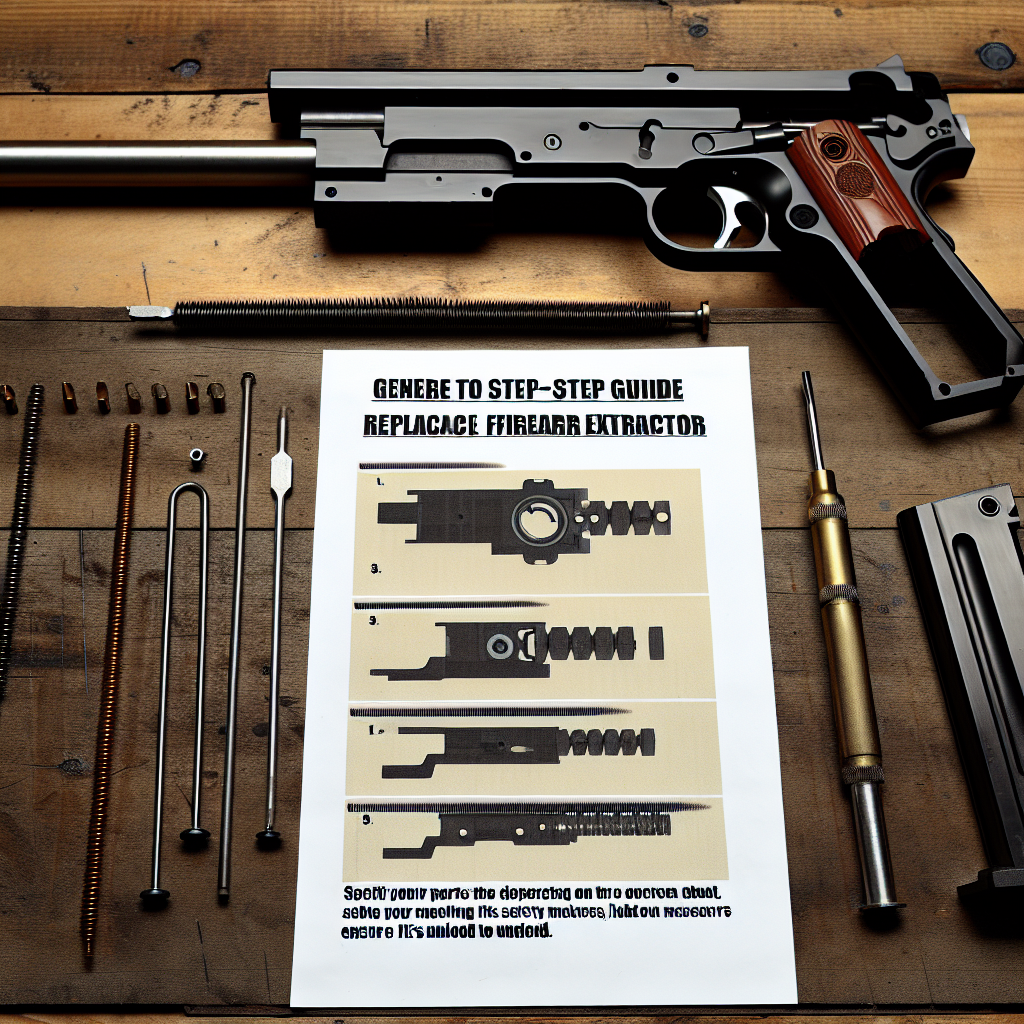
Tools and Preparation Needed Before Replacing Your Extractor
Before diving into replacement, having the right tools and preparation is crucial for success and safety:
- Screwdrivers or punches: Depending on your firearm model, these will help remove pins or screws securing the extractor.
- Bore light or magnifying glass: For inspecting small parts closely before and after replacement.
- Cleaning supplies: Solvent, brushes, and cloths for cleaning components prior to reassembly.
- Tweezers or needle-nose pliers: Useful for handling small springs or pins without damage.
- User manual or schematic diagrams: Reference specific instructions related to your firearm model for correct disassembly and reassembly procedures.
Please note: Always ensure your firearm is unloaded before performing any maintenance. Remove magazines and visually inspect chambers multiple times for safety.
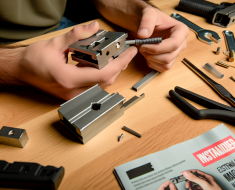
Step-by-Step Guide: How to Replace Your Firearm’s Extractor
The process below outlines general steps applicable to many common firearms such as AR-15 rifles, Glock pistols, and Remington shotguns. Always consult your specific firearm’s manual for tailored instructions.
1. Safety First: Clear Your Firearm
Your first priority is safety. Remove all ammunition from your workspace and double-check that no live rounds are present in the firearm’s chamber or magazine well.
2. Field Strip Your Firearm
This involves disassembling your firearm into major components — typically separating the upper receiver/slide from the lower receiver/frame. This exposes internal parts including the bolt or slide assembly where extractors reside.
3. Locate and Remove Old Extractor
- For rifles like AR-15s:
- Semi-auto pistols like Glocks:
-
<liRemove cotter pins or retaining springs holding extractor in place using punches or tweezers.
<liCarefully pry out old extractor using gentle leverage if necessary; avoid damaging bolt face geometry.
-
<liPress down on extractor pin with punch while carefully pushing extractor off its recess on slide assembly.
</ul