How to Install an Extended Magazine Catch: A Comprehensive Guide
The extended magazine catch is a popular upgrade among firearm enthusiasts looking to improve the functionality and ergonomics of their weapons. Whether you are a competitive shooter, a tactical operator, or simply someone who enjoys customizing your firearm, installing an extended magazine catch can significantly enhance your reload speed and ease of use. This article delves into the step-by-step process of installing an extended magazine catch, including essential tips, necessary tools, and practical insights backed by real-world examples.
Understanding the Benefits of an Extended Magazine Catch
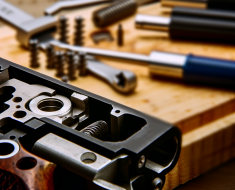
Before diving into the installation process, it’s important to understand why upgrading to an extended magazine catch is beneficial. The magazine catch is the component that holds your magazine securely in place within the firearm’s magwell. A standard magazine catch is often small and flush with the receiver, which can make quick magazine changes cumbersome, especially under stress or while wearing gloves.
An extended magazine catch protrudes further out from the receiver, allowing shooters to release their magazines more quickly and with less effort. This modification is particularly valuable in competitive shooting sports such as IPSC or 3-Gun competitions where every fraction of a second counts.
- Improved Reload Speed: The larger surface area allows for easier and faster magazine drops.
- Enhanced Ergonomics: Easier to manipulate with gloved hands or in adverse conditions.
- Customization: Many extended catches come in various colors and finishes to personalize your firearm.
According to a study conducted by the National Shooting Sports Foundation (NSSF), shooters using extended controls on their firearms reported an average 15% decrease in reload times during timed drills compared to those using standard controls. This improvement can be critical in both competition and defensive scenarios.
Essential Tools and Materials Needed for Installation
Installing an extended magazine catch is a relatively straightforward process that can be completed at home with minimal tools. However, having the right equipment ensures a smooth installation without damaging your firearm.
- Extended Magazine Catch: Purchase a compatible extended mag catch designed for your specific firearm model (e.g., AR-15, Glock).
- Punch Set: A small roll pin punch or a similar tool will help remove and install pins if necessary.
- Screwdriver or Allen Wrench: Depending on your firearm’s design, some catches may require these tools.
- Needle-Nose Pliers: Helpful for gripping small parts during installation.
- Cleaning Supplies: Cloths and gun oil for cleaning components before reassembly.
- Protective Gear: Safety glasses and gloves for protection during installation.
If you are upgrading an AR-15 style rifle, note that many extended mag catches are drop-in parts requiring no special gunsmithing skills. For other platforms like Glock pistols or SIG Sauer models, the procedure may slightly vary but generally follows similar principles.
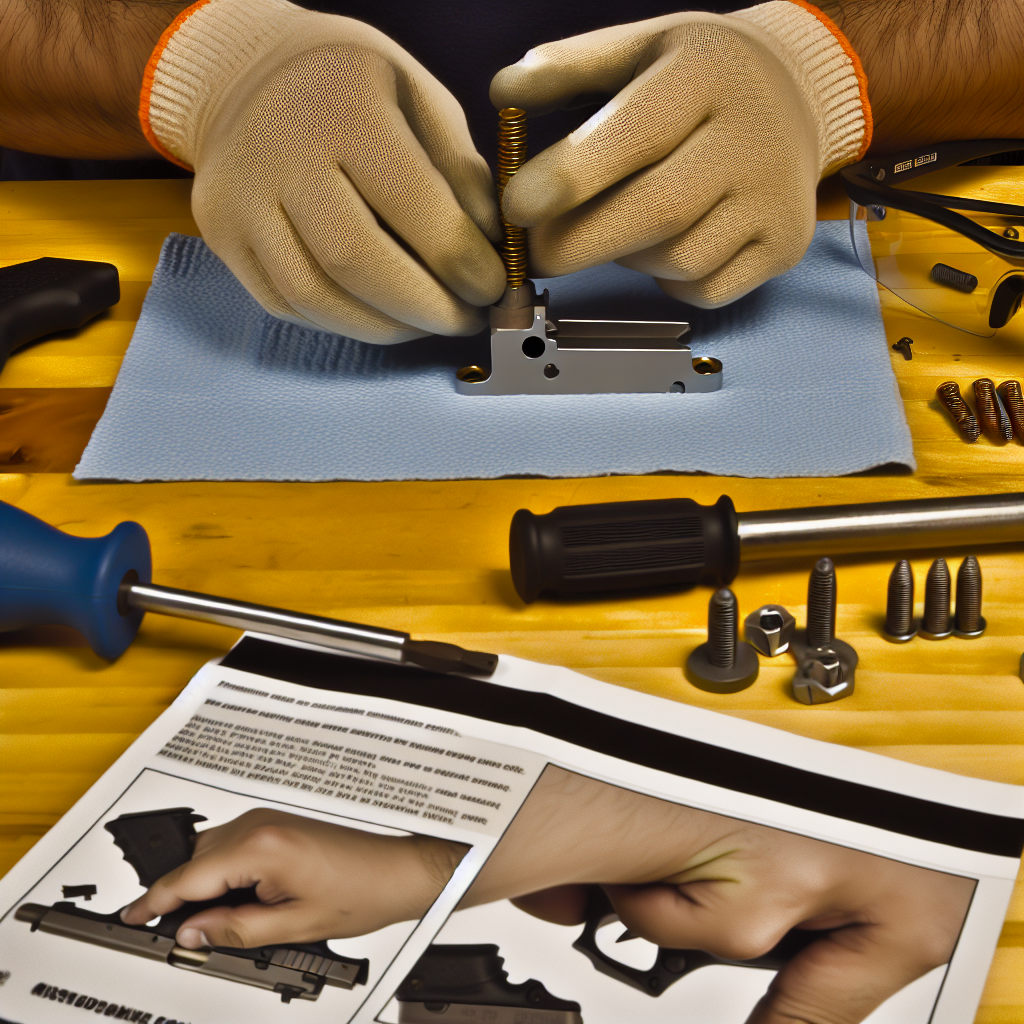
Step-by-Step Guide: Installing an Extended Magazine Catch on an AR-15
The AR-15 platform is one of the most common rifles where shooters install extended magazine catches due to its modularity. Below is a detailed walkthrough for replacing your standard mag catch with an extended version on an AR-15 rifle:
-
Ensure Safety First: Before working on your firearm, clear it thoroughly. Remove the magazine, check that the chamber is empty, and ensure there is no ammunition nearby.
-
Remove Existing Magazine Catch Button: Locate the mag catch button on the left side of the lower receiver. Using your fingers or pliers if necessary, unscrew it by turning counterclockwise until it comes off completely.
-
Eject Magazine Catch Assembly: Press down on the mag catch lever located inside the magwell while unscrewing or pulling out the button from the opposite side. This will free up both pieces of the old mag catch assembly.
-
Install New Extended Magazine Catch Lever: Insert the new lever into its slot inside the magwell. Make sure it aligns properly with its spring mechanism (usually included).
-
Screw On Extended Mag Catch Button: Thread the new button onto the lever from outside of the receiver until finger-tight. Test function by pressing; it should release magazines smoothly without excessive force.
-
Tighten Securely but Not Overly Tightened: Use pliers if necessary to snug down but avoid stripping threads or damaging components.
-
Function Check: Insert a loaded magazine and press the mag release button several times to ensure reliable operation. Make sure magazines drop free when pressed and lock firmly when inserted.
This entire procedure typically takes under five minutes once you’re familiar with your rifle’s layout. Numerous videos online provide visual demonstrations which can be especially helpful for first-timers.
Troubleshooting Common Issues During Installation
While most installations proceed smoothly, users occasionally encounter difficulties such as binding buttons or loose catches after installation. Here are