How to Clean Gun Chambers for Reliable Feeding
Maintaining a firearm’s reliability is crucial for any gun owner, whether for self-defense, hunting, or sport shooting. One of the often overlooked yet vital aspects of firearm maintenance is cleaning the gun chamber. The chamber plays a critical role in feeding and firing ammunition correctly. A dirty or improperly maintained chamber can lead to feeding issues, misfires, and even damage to the firearm.
This comprehensive guide will explore the importance of cleaning gun chambers, step-by-step cleaning methods, common challenges, and practical tips to ensure your firearm feeds reliably every time you pull the trigger.
Understanding the Role of the Gun Chamber in Reliable Feeding
The chamber is the portion of a firearm’s barrel where the cartridge is seated before firing. It acts as the transition zone between the magazine and the barrel and must be clean and properly maintained for smooth feeding and extraction.
When a round is fed from the magazine into the chamber, it needs to slide smoothly without obstruction. If residue, dirt, or corrosion build-up occurs inside the chamber, it can cause friction or even blockages. This impedes proper seating of the cartridge and can cause malfunctions such as failure to feed (FTF), failure to eject (FTE), or jams.
According to data from firearms training facilities, approximately 40% of stoppages in semi-automatic pistols are linked directly to feeding issues caused by dirty chambers or magazines. Keeping your chamber clean reduces these risks significantly.
Common Contaminants Found in Gun Chambers
To effectively clean your gun chamber, it’s important to understand what types of contaminants accumulate there:
- Carbon Fouling: Burning powder leaves behind carbon residue that sticks to surfaces inside the chamber.
- Lead and Copper Deposits: Fired bullets coated with lead or copper jacket material leave traces that build up over time.
- Dirt and Debris: External contaminants like dust, sand, or moisture can enter through open actions or magazines.
- Lubricant Residue: Excess oils and grease can attract dirt and form sticky deposits.
A case study conducted by a ballistic research group found that shooters who fired over 500 rounds without cleaning their chambers experienced a 25% increase in feeding malfunctions compared to those who cleaned after every range session.
Step-by-Step Guide: How to Clean Your Gun Chamber Properly
The following detailed procedure will help you maintain your firearm’s chamber for optimal performance. These steps apply broadly across most semi-automatic pistols and rifles but always consult your firearm’s manual for specific instructions.
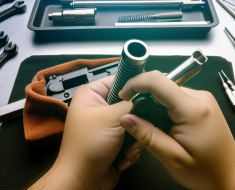
1. Safety First: Ensure Your Firearm Is Unloaded
“Safety first” is more than a mantra when working on firearms. Always:
- Remove the magazine from your firearm.
- Visually inspect and physically check that there are no cartridges in the chamber or magazine well.
- Work in a well-ventilated area away from distractions.
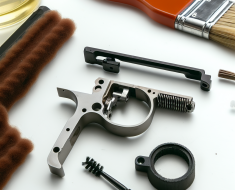
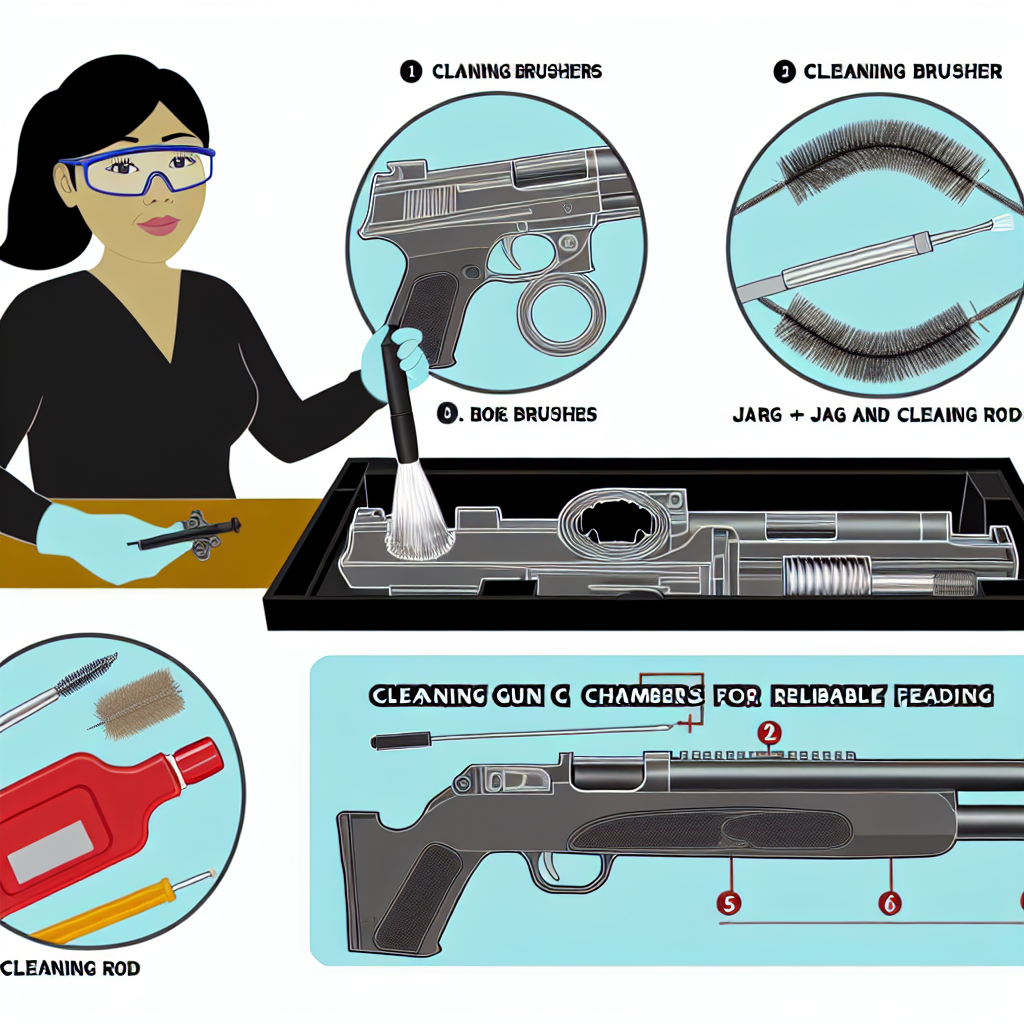
2. Gather Your Cleaning Supplies
You will need:
- Bore brush (nylon or bronze) sized for your caliber
- Cotton patches or microfiber cloths
- A quality solvent designed for carbon and lead removal
- A small cleaning rod or flexible cable with appropriate attachments
- A nylon or brass chamber brush specifically designed for chambers
- Lubricant recommended by your firearm manufacturer
3. Apply Solvent to Loosen Fouling
Dab some solvent onto a patch or directly into the chamber using an applicator swab. Let it soak for several minutes—typically five to ten—to soften stubborn carbon deposits and metal fouling.
4. Scrub the Chamber Thoroughly
Using a dedicated chamber brush attached to your cleaning rod, scrub inside the chamber with firm but controlled strokes. Move in multiple directions to ensure all surfaces are cleaned evenly.
If you have access to ultrasonic cleaning devices (commonly used by professional gunsmiths), these can provide superior results by removing microscopic fouling particles efficiently.
5. Wipe Out Residue with Clean Patches
Run clean cotton patches through the chamber repeatedly until they come out free of dark residue. This step ensures all loosened contaminants are removed completely before lubrication.
6. Inspect Your Work Using a Bore Light or Magnifier
A visual inspection helps confirm that no fouling remains inside the chamber walls. Look closely for shiny metal surfaces free from discoloration or buildup.
7. Apply Light Lubrication if Recommended
A thin film of lubricant prevents rust but avoid over-lubricating as excess oil can attract dirt and cause feeding issues itself. Follow manufacturer guidelines regarding lubrication points around the chamber area.
Troubleshooting Common Issues Related to Dirty Chambers
If you notice persistent feeding problems even after cleaning your gun chamber thoroughly, consider these additional factors:
- Ammunition Compatibility: Some ammo types may not feed smoothly due to bullet shape or cartridge dimensions incompatible with