How to Safely Clean a Fully Automatic Firearm
Maintaining firearms is essential for both safety and functionality, but when it comes to fully automatic firearms, the stakes are even higher. These weapons, capable of firing multiple rounds with a single trigger pull, require meticulous care and attention to detail during cleaning to ensure safe operation and longevity. This comprehensive guide will walk you through the essential steps and safety precautions needed to clean a fully automatic firearm effectively.
Understanding Fully Automatic Firearms: The Basics
Before diving into the cleaning process, it’s important to understand what differentiates fully automatic firearms from other types of guns. Unlike semi-automatic firearms that fire one round per trigger pull, fully automatic firearms continue firing as long as the trigger remains depressed and ammunition is available.
Examples include military rifles like the M16 or submachine guns like the Heckler & Koch MP5. These weapons have complex internal mechanisms such as bolt carriers, gas systems, and sear assemblies that require specific attention during cleaning.
According to a 2021 study by the Small Arms Survey, there are approximately 1 billion firearms worldwide, with a significant portion being automatic or semi-automatic. Proper maintenance of these weapons is critical not only for operational readiness but also for preventing accidental discharges and malfunctions.
Essential Safety Precautions Before Cleaning
The first priority when handling any firearm—especially a fully automatic one—is safety. Mishandling can result in accidental discharge, injury, or damage to the weapon.
- Ensure the Firearm is Unloaded: Always remove the magazine and check both the chamber and magazine well visually and physically to confirm no ammunition is present.
- Engage Safety Mechanisms: Engage any manual safeties or decockers if applicable before beginning disassembly.
- Clear Your Workspace: Use a well-lit area free from distractions. Avoid cleaning near live ammunition or in cluttered spaces.
- Wear Protective Gear: Use safety glasses and gloves to protect against solvent splashes and sharp components.
- Follow Legal Regulations: Some jurisdictions require special permits or restrictions on handling fully automatic firearms; ensure compliance with local laws.
A case study from the U.S. Army’s small arms training programs highlights that over 80% of firearm accidents during maintenance stem from failure to confirm that weapons were unloaded prior to cleaning. This underlines the critical importance of adhering strictly to safety protocols.
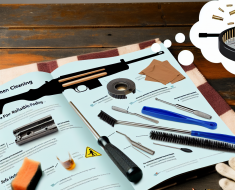
The Step-by-Step Process of Cleaning a Fully Automatic Firearm
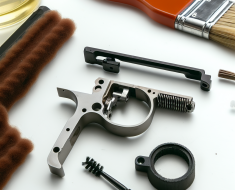
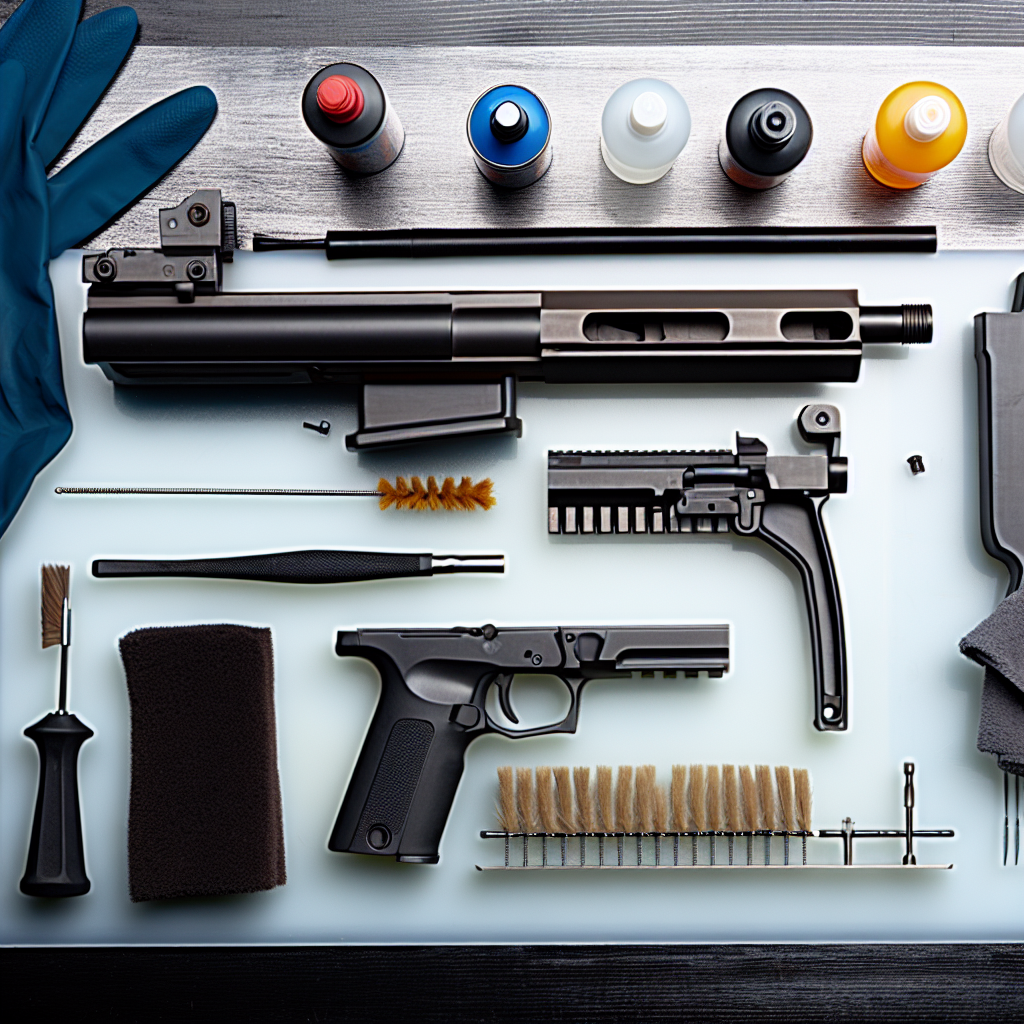
Cleaning a fully automatic firearm involves several stages: disassembly, cleaning individual parts, lubrication, inspection, and reassembly. Each step demands careful attention due to the complexity of these weapons.
1. Disassembly
Begin by consulting your firearm’s manufacturer manual since designs vary significantly between models. Generally, disassembly involves removing:
- The magazine
- The bolt carrier group
- The gas system (if applicable)
- The barrel assembly (on some models)
A common mistake is forcing parts apart without understanding their locking mechanisms. For example, the M16 rifle’s bolt carrier group must be removed carefully by depressing the bolt catch before pulling back on the charging handle.
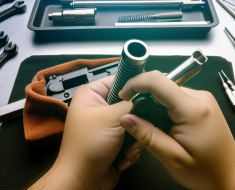
2. Cleaning Individual Components
This phase ensures removal of carbon buildup, fouling, dirt, and residual lubricants that can impair function or cause jamming.
- Bore Cleaning: Use bore brushes matched to your barrel caliber with appropriate solvent (e.g., Hoppe’s No. 9) to scrub inside the barrel until patches come out clean.
- Bolt Carrier Group: Clean all surfaces using nylon brushes and cotton swabs soaked in solvent; pay close attention to extractor areas where residue accumulates.
- Gas System: Carbon often builds up in gas tubes or pistons; use pipe cleaners or specialized tools for thorough cleaning.
- Trigger Assembly: Avoid soaking; instead use compressed air or gentle wiping since this area contains delicate springs and sear components.
A report published in “Firearms Technology Journal” noted that improper cleaning of gas systems was responsible for over 30% of malfunctions in field-tested automatic rifles during military evaluations.
3. Lubrication
Lubrication reduces friction between moving parts but excessive oil can attract debris leading to malfunctions. Use high-quality gun oils designed specifically for automatic weapons such as CLP (Clean-Lubricate-Protect).
- Apply sparingly on bolt rails and moving surfaces only.
- Avoid lubricating inside barrels or gas ports where it can interfere with bullet trajectories or gas pressures.
- If unsure about quantity, consult manufacturer recommendations; many modern firearms are designed to function optimally with minimal lubrication.
4. Inspection & Reassembly
Inspect each component for wear or damage such as cracks in springs or pitting inside barrels before reassembling your firearm carefully in reverse order of disassembly. Verify that all pins are securely seated and springs properly tensioned.
- Function Check: